If you want to remove scratches from hardwood floors, you are not alone. Every home with wood flooring eventually collects small marks from furniture, pet nails, shoes, or everyday foot traffic. The good news is that most scratches can be treated at home without professional help, and this guide walks you through practical methods that actually work.
Why Hardwood Floors Get Scratched
Hardwood floors look beautiful, but their surface is also exposed to constant movement and pressure. Over time, this exposure leads to visible wear that many homeowners want to fix quickly.
Common Causes of Scratches
Furniture legs dragged across the floor are one of the biggest culprits. Pet claws, sandy grit tracked in from outside, and shoes with hard soles also contribute heavily. Even cleaning tools like stiff brooms can leave fine surface lines if used carelessly.
Assess the Scratch Before You Begin
Before choosing a repair method, it helps to understand how deep the damage really goes. Not every mark needs the same level of treatment.
Light Surface Scratches
These scratches usually affect only the protective finish layer sitting on top of the wood. They often appear as thin, shallow lines that catch light differently than the surrounding area.
Deep Gouges and Structural Damage
Deeper scratches reach into the wood fibers themselves. These marks are more noticeable, may show a color difference, and typically require a more involved repair approach.
How to Remove Scratches from Hardwood Floors Naturally
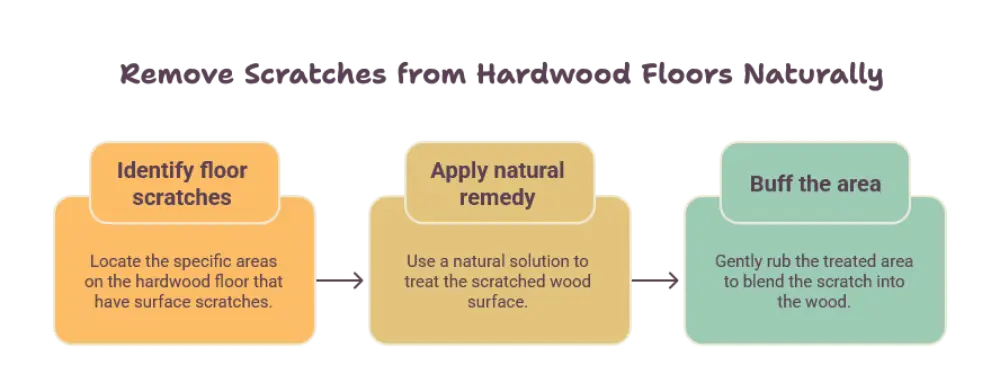
Several natural, gentle methods can hide minor scratches without harsh chemicals or heavy sanding.
Using Walnuts for Minor Scratches
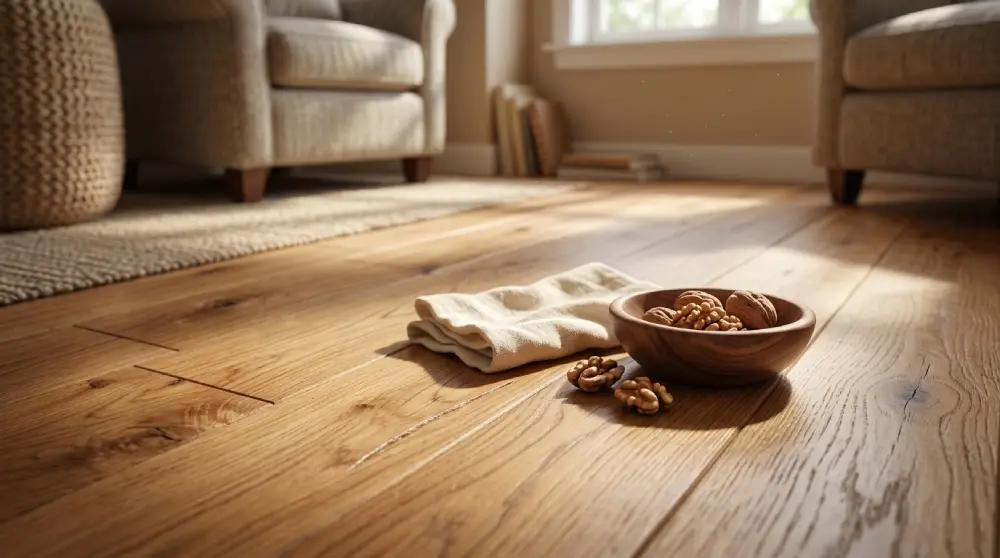
A simple walnut kernel can work wonders on small surface scratches. Rub the kernel directly over the mark so the natural oils fill the gap, then buff the area gently with a soft cloth. This trick blends the color and softens the appearance of the line almost instantly.
Olive Oil and Vinegar Solution
Mix olive oil with white vinegar to create a gentle cleaning and conditioning blend. Apply a small amount with a soft cloth, rubbing along the direction of the wood grain. Wipe away any excess so the floor does not feel greasy.
Using Wood Fillers and Stain Markers
For scratches that go slightly deeper, wood fillers and stain markers offer a longer lasting fix.
Applying Wood Filler
Clean the scratched area thoroughly so dust and debris do not get trapped underneath. Apply a wood filler that matches the floor tone, let it dry fully, then smooth it gently until it sits level with the surrounding surface.
Matching Stain Color
Touch up stain markers designed for hardwood floors can blend repaired spots seamlessly. Always test the color on a hidden section first, such as inside a closet, to confirm it matches before applying it to a visible area.
Sanding and Refinishing for Deeper Scratches
When scratches are too deep for fillers alone, sanding becomes the next step.
Spot Sanding
For isolated scratches, use fine grit sandpaper to smooth just that section. Clean away the dust completely, then apply a matching finish so the repaired spot blends with the rest of the floor.
Full Refinishing
If scratches cover a large section of the floor rather than just a few spots, a complete sanding and refinishing job restores an even, uniform look across the entire surface. This process is more involved and works best when handled with care and patience.
Preventing Future Scratches
Once your floor looks great again, a few simple habits help keep it that way.
Protective Pads and Rugs
Attach soft felt pads to the bottom of furniture legs so they glide smoothly instead of dragging. Placing rugs in busy walkways also reduces direct contact between shoes and the wood surface. Trimming pet nails regularly helps too.
Regular Cleaning Habits
Sweep or vacuum often using a soft bristle attachment to remove grit before it can grind into the finish. Avoid soaking the floor with excess water, since moisture can weaken the protective layer over time and make scratches more likely.
Conclusion
Learning how to remove scratches from hardwood floors does not have to feel overwhelming. Whether you are dealing with light surface marks or deeper gouges, there is a suitable method for every situation, from natural remedies like walnuts and olive oil to fillers, stain markers, and sanding. Combine these repair techniques with simple preventive habits, and your hardwood floors will stay smooth, warm, and inviting for years to come.
FAQs
Can toothpaste really remove scratches from hardwood floors?
Toothpaste can sometimes reduce the appearance of very light surface scratches because of its mild abrasive texture, but it works best on minor marks rather than deep gouges.
How often should I check my hardwood floors for new scratches?
A quick visual check every few weeks, especially in busy walkways, helps you catch and treat scratches early before they become more noticeable.
Will sunlight affect how a repaired scratch looks over time?
Yes, sunlight can gradually change the color of wood, so a freshly repaired area might look slightly different after prolonged sun exposure until the surrounding floor catches up in tone.
Is it safe to use vinegar on all types of hardwood floors?
Vinegar works well when diluted and used sparingly, but it is wise to test any solution on a hidden section first since finishes can react differently depending on the floor.
Do rugs and mats really make a noticeable difference in preventing scratches?
Yes, placing rugs or mats in high movement areas significantly reduces direct friction from shoes, paws, and furniture, which helps prevent new scratches from forming.