Learning how to disinfect kitchen sponges is one of the simplest ways to keep your kitchen clean and safe from harmful bacteria. Your sponge touches dirty dishes, raw meat juices, and countertops every day, which makes it one of the germiest items in your entire home. The good news is that with a few easy techniques, you can keep it fresh, sanitary, and safe to use for longer.
Why Kitchen Sponges Harbor So Many Germs
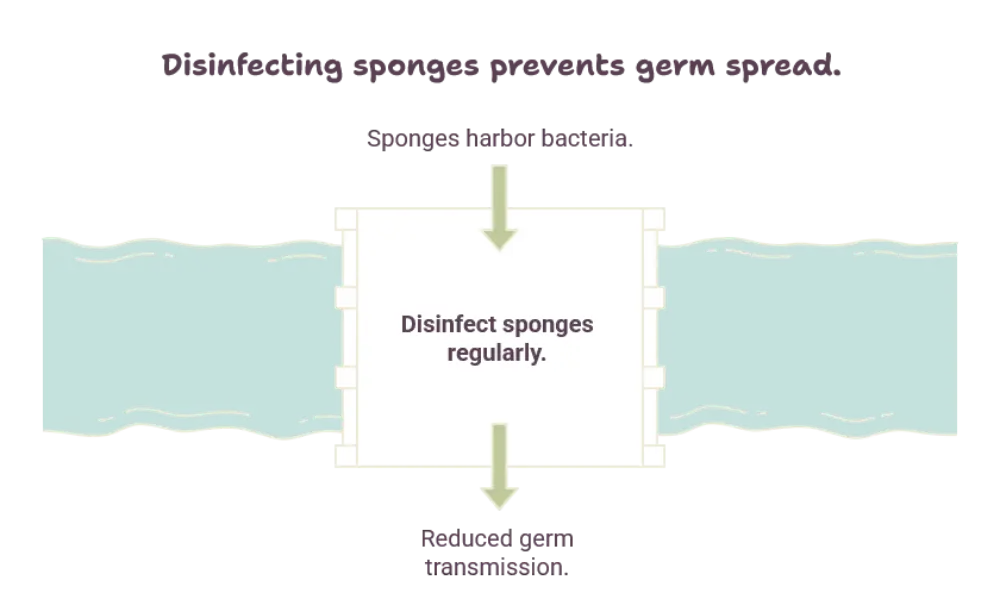
Kitchen sponges are warm, damp, and full of tiny holes, which creates the perfect environment for bacteria to grow. Every time you wipe a counter or scrub a plate, food particles and moisture get trapped inside the sponge. Left unchecked, this buildup can lead to unpleasant odors and even spread germs across your kitchen surfaces instead of removing them.
Common Bacteria Found in Sponges
Studies have shown that used kitchen sponges can contain thousands of different types of bacteria, some of which can cause stomach illness if transferred to food. This is exactly why regular disinfection matters so much, especially in households that cook meat, poultry, or seafood often.
How Often Should You Disinfect Your Sponge
Ideally, you should disinfect your kitchen sponge every single day if it is used frequently. For sponges used occasionally, disinfecting every two to three days is usually enough. Keeping a consistent routine prevents bacteria from multiplying and helps your sponge stay effective for a longer period.
Best Methods to Disinfect Kitchen Sponges
There are several safe and effective ways to disinfect a kitchen sponge. Choose the method that fits your routine and the tools you already have at home.
Microwave Method
Wet the sponge completely with water so it does not dry out and catch fire. Place it in the microwave and heat it for about two minutes. The steam generated during this process kills a large percentage of bacteria. Always let the sponge cool down before touching it, since it will be extremely hot right after microwaving.
Boiling Method
Submerge the sponge fully in a pot of boiling water and let it sit for about five minutes. This method works well for people who do not want to use a microwave. Once done, remove the sponge carefully with tongs and allow it to cool before use.
Dishwasher Method
If your dishwasher has a heated drying cycle, you can place the sponge on the top rack and run a full cycle. The combination of hot water and heat drying helps eliminate germs effectively while also cleaning off trapped food residue.
Vinegar Soak Method
Soak the sponge in a mixture of water and white vinegar for about ten minutes. Vinegar is a natural disinfectant and also helps remove unpleasant odors. This method is gentle and works well for people who prefer a more natural cleaning approach.
Bleach Solution Method
Mix a small amount of bleach with water and soak the sponge for around five minutes. Rinse it thoroughly afterward to remove any bleach residue. This method is highly effective at killing bacteria but should be used carefully and only in a well ventilated area.
Signs Your Sponge Needs to Be Replaced
Even with regular disinfecting, sponges do not last forever. Watch for the following signs that indicate it is time for a new one.
- A strong, lingering odor that does not go away after cleaning
- Visible mold spots or discoloration
- A texture that feels slimy or falls apart easily
- Reduced scrubbing power even after disinfecting
Replacing your sponge regularly, even if you disinfect it often, ensures your kitchen stays as hygienic as possible.
Tips to Keep Your Sponge Cleaner Longer
Small daily habits can make a big difference in how long your sponge stays fresh and effective.
- Rinse the sponge thoroughly after every use
- Squeeze out excess water and let it air dry between uses
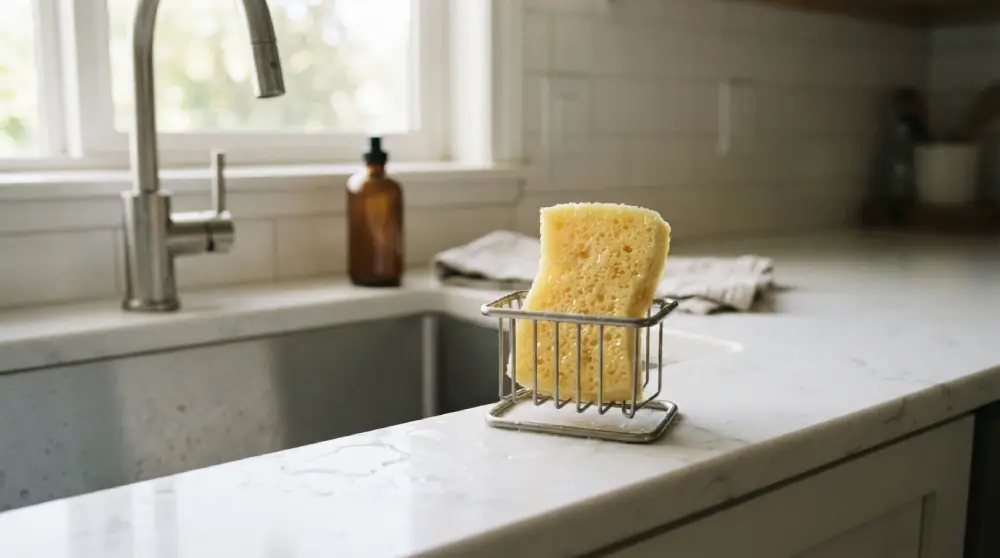
- Store it in a holder that allows airflow instead of a closed container
- Avoid using the same sponge for raw meat and other kitchen surfaces
- Disinfect on a consistent schedule rather than only when it smells bad
Choosing a Better Sponge Holder
A ventilated sponge holder placed near a window or open area helps moisture evaporate faster. This simple change reduces the chances of bacteria multiplying between cleaning sessions.
Conclusion
Knowing how to disinfect kitchen sponges properly is an easy habit that protects your family from harmful bacteria and keeps your kitchen smelling fresh. Whether you prefer the microwave method, boiling, vinegar, or a dishwasher cycle, the key is consistency. Pair regular disinfecting with proper drying habits and timely replacement, and your kitchen will stay cleaner and safer every day.
Frequently Asked Questions
How often should I disinfect my kitchen sponge?
Disinfect it daily if used often, or every two to three days if used less frequently.
Can I put my sponge in the microwave every day?
Yes, as long as the sponge is fully wet before microwaving, this method is safe for daily use.
Does vinegar really kill bacteria in sponges?
Yes, vinegar has natural disinfecting properties and also helps eliminate odors from the sponge.
How do I know when to throw away my sponge?
Replace it when it smells bad, feels slimy, shows mold, or loses its scrubbing effectiveness.
Is boiling better than microwaving for disinfecting sponges?
Both methods work well. Boiling may reach bacteria more evenly, while microwaving is faster and more convenient.