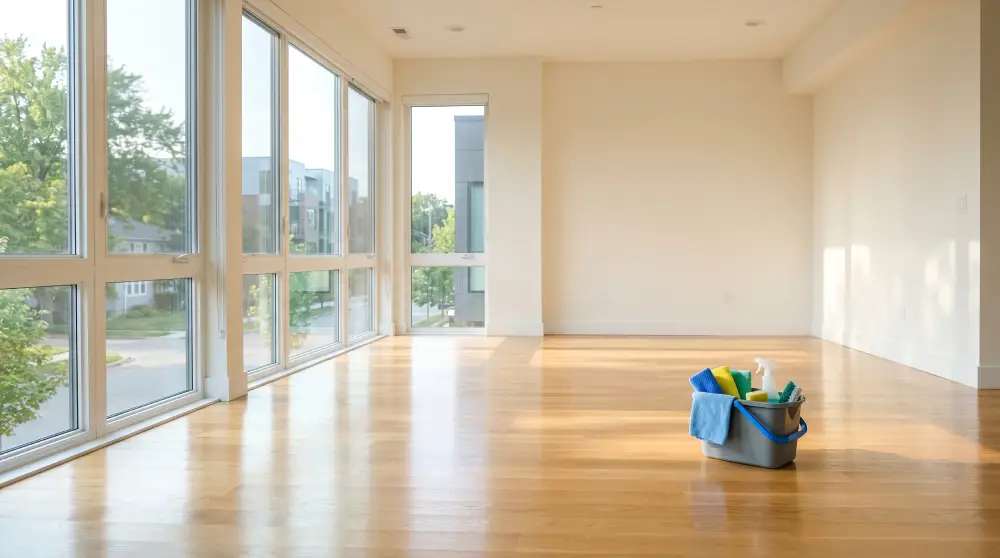
Moving to a new home is an exciting milestone, but it also comes with a mountain of logistics. Between packing boxes, coordinating movers, and setting up utilities, it is easy to feel overwhelmed. Amidst all this chaos, one critical task stands between you and getting your security deposit back: the final clean. This comprehensive move-out cleaning guide is designed to take the guesswork out of the process, ensuring you leave your old space immaculate while saving your time and sanity.
Landlords and property managers look at a rental with a microscopic lens during the final walkthrough. Normal wear and tear is usually acceptable, but accumulated grime, dust, and grease can lead to costly deductions from your deposit. By following a structured approach, you can tackle the deep clean efficiently and ensure every room meets the highest standards.
- Why a Move-out Cleaning Guide Strategy Saves You Time
- Essential Supplies for Your Move-out Cleaning Guide Checklist
- Move-out Cleaning Guide for Kitchen Deep Cleaning
- Move-out Cleaning Guide for Bathroom Sanitation
- Move-out Cleaning Guide for Living Areas and Bedrooms
- Move-out Cleaning Guide for Floors and Final Touches
- Top Move-out Cleaning Guide Tips for a Flawless Walkthrough
- Move-out Cleaning Guide FAQs
Why a Move-out Cleaning Guide Strategy Saves You Time
Trying to clean an entire house or apartment without a plan is a recipe for exhaustion. You end up bouncing from room to room, wiping down a counter here and sweeping a floor there, without ever really finishing anything. A systematic approach ensures that you only clean each area once and do not track dirt back into spaces you have already scrubbed.
The secret to an efficient move out clean is timing and order. You should always wait until the property is completely empty before you begin deep cleaning. Trying to scrub behind furniture or vacuum around cardboard boxes will double your workload. Once the last box is loaded onto the truck, you can use this guide to methodically restore the property to its original glory.
Essential Supplies for Your Move-out Cleaning Guide Checklist
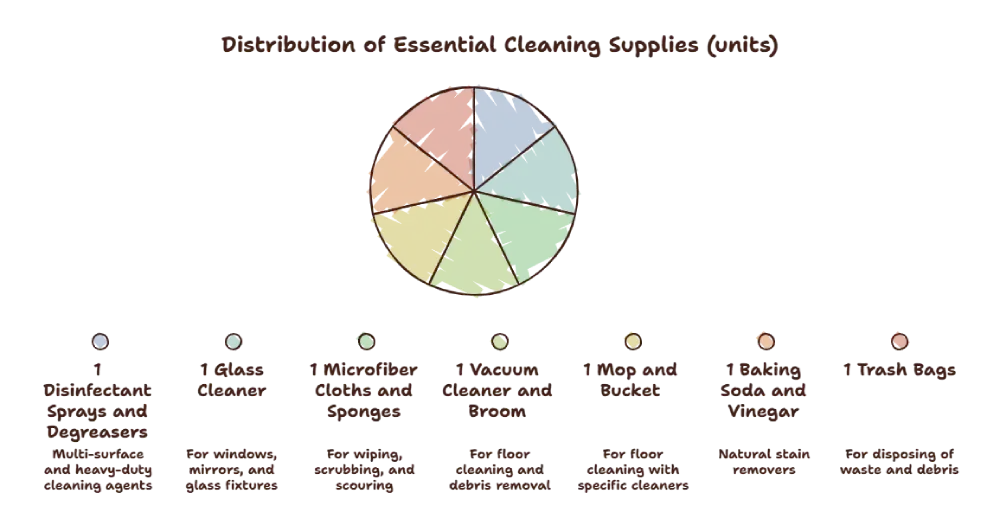
Before you begin scrubbing, you need to gather the right tools for the job. Having everything on hand prevents interruptions and keeps your momentum going.
Key supplies to gather before you start:
- Multi surface disinfectant sprays and heavy duty degreasers
- Glass cleaner for windows, mirrors, and glass fixtures
- Microfiber cloths, scrub sponges, and non abrasive scouring pads
- A reliable vacuum cleaner with hose attachments and a sturdy broom
- A mop, bucket, and floor cleaner formulated for your specific flooring type
- Baking soda and white vinegar for natural, effective stain removal
- Sturdy trash bags for any leftover debris
Move-out Cleaning Guide for Kitchen Deep Cleaning
The kitchen is arguably the most time consuming zone in the entire property. It is the area most prone to grease buildup, food spills, and hidden grime. Landlords always inspect the kitchen thoroughly, so spending extra time here is crucial.
Appliances Inside and Out
Start by tackling the major appliances. For the refrigerator, remove all shelves and drawers, wash them in warm soapy water, and wipe down the interior walls. Leave the door open for a short time afterward to prevent moisture buildup. When cleaning the oven, use a specialized oven cleaner or a paste of baking soda and water to dissolve baked on grease. Do not forget to clean the stovetop, the control knobs, and the range hood filter, which is often a magnet for airborne grease.
Cabinets and Countertops
Empty every single cabinet and drawer. Use a vacuum attachment to suck out any crumbs or dust hidden in the corners. Wipe down the interior shelves and the exterior doors with a mild cleaner. Finally, scrub the countertops and disinfect them, paying close attention to the backsplash where cooking splatters frequently accumulate.
Sinks and Fixtures
Scrub the kitchen sink with a non abrasive cleaner to remove water stains and soap scum. Clean around the base of the faucet with an old toothbrush to remove mineral buildup. If you have a garbage disposal, drop a few lemon slices down the drain and run it with cold water to eliminate any lingering odors.
Move-out Cleaning Guide for Bathroom Sanitation
Bathrooms are another high priority area during a move out inspection. Mold, mildew, and limescale can accumulate quickly, and landlords expect these spaces to be thoroughly sanitized.
Tub, Shower, and Toilet
Apply a generous amount of bathroom cleaner to the shower walls, tub, and glass doors. Let it sit for several minutes to break down soap scum before scrubbing. Use a grout brush to clear away any discoloration in the tile lines. For the toilet, apply disinfectant inside the bowl and thoroughly clean the seat, base, and flush handle.
Vanity, Mirror, and Sink
Wipe down the bathroom mirror with glass cleaner for a streak free finish. Scrub the sink basin and polish the chrome fixtures. Empty the vanity drawers, vacuum out any loose debris, and wipe down the fronts of the cabinets.
Move-out Cleaning Guide for Living Areas and Bedrooms
Living rooms, dining rooms, and bedrooms are generally easier to clean than kitchens and bathrooms, but they still require careful attention to detail. The focus here is on dust elimination and floor care.
Walls, Baseboards, and Trim
Dust and scuff marks tend to accumulate on vertical surfaces over time. Walk through each room and dust the ceiling corners to remove cobwebs. Wipe down the baseboards, door frames, and window sills with a damp microfiber cloth. If there are minor scuffs on the walls, a damp magic eraser can often remove them without damaging the paint.
Windows and Coverings
Clean the inside of all windows using a dedicated glass cleaner. Wipe down the window tracks, as dirt and dead insects frequently collect there. If the property has blinds, dust each slat individually or use a vacuum attachment to clear away heavy buildup.
Closets and Light Fixtures
Check every closet to ensure no personal items or hangers are left behind. Vacuum the closet floors and wipe down any built in shelving. Carefully wipe down light fixtures, ceiling fans, and light switches, which accumulate a surprising amount of fingerprints and dust over time.
Move-out Cleaning Guide for Floors and Final Touches
The very last step in your cleaning process should always be the floors. This ensures that you do not accidentally track dirt onto a freshly cleaned surface while working on other tasks.
Vacuuming and Mopping
Vacuum every carpeted area thoroughly, using slow strokes to pull up deeply embedded dirt. If the carpets have noticeable stains, consider using a spot treatment or renting a carpet cleaner. For hard surfaces like hardwood, tile, or laminate, sweep away loose debris first, then finish with a damp mop using a floor safe cleaning solution.
Exterior Spaces and Trash Disposal
If your rental includes a balcony, patio, or porch, sweep away leaves and cobwebs. Once the interior is pristine, gather all your cleaning rags and remaining trash bags. Take the garbage to the designated outdoor bins so the property is entirely empty and smelling fresh.
Top Move-out Cleaning Guide Tips for a Flawless Walkthrough
To guarantee you get your full security deposit back, keep these expert strategies in mind as you wrap up your hard work.
Key walkthrough preparation tips:
- Clean from top to bottom so falling dust lands on uncleaned surfaces
- Take time stamped photos of every single room once you finish cleaning
- Keep your cleaning supplies with you until the absolute final walkthrough
- Test all light bulbs and replace any that have burned out
- Patch minor nail holes with a small amount of spackling paste
Move-out Cleaning Guide FAQs
What does a standard move out clean include?
A standard clean involves deep cleaning the entire property. This includes scrubbing all kitchen appliances inside and out, sanitizing bathrooms, wiping down baseboards, cleaning interior windows, dusting light fixtures, and thoroughly vacuuming and mopping all floors.
How long does a thorough move out clean take?
The duration depends entirely on the size of the home and its current condition. A small, well maintained apartment might take four to six hours, while a larger multi story house can easily require a full day or two of dedicated effort.
Should I clean the property before or after moving my furniture?
You should always clean after the furniture has been completely removed. Empty rooms allow you to access hidden dust, clean baseboards easily, and vacuum floors without navigating around heavy obstacles.
Do I need to patch nail holes in the walls before moving?
Most rental agreements require you to return the walls to their original state. It is always a good idea to fill minor nail holes with spackling paste and sand them smooth to prevent the landlord from deducting repair fees from your deposit.
What happens if I do not clean the property properly when moving out?
If the property does not meet the standards outlined in your lease agreement, the landlord has the right to hire a professional cleaning service and deduct the total cost directly from your security deposit.